Did you know a fresh coat of paint can boost your home’s value by up to 5%? This simple change can make your living space feel new and refreshed. At our guide, we’re excited to show you how to give your home a beautiful new look.
Painting the interior of your home might seem tough, but with the right help, it’s a fun DIY project. We’ll guide you from start to finish, so you get amazing results.
Key Takeaways
- Understand the basics of interior painting
- Learn how to choose the right paint for your walls
- Discover tips for a smooth, even finish
- Find out how to maintain your newly painted space
- Explore common mistakes to avoid during the painting process
Understanding the Basics of Interior Paint
Getting to know the basics of interior paint is key to a beautifully painted home. When it comes to interior house painting, the paint type and finish matter a lot.
Choosing the Right Paint Type
First, you need to pick a paint type. You have latex and oil-based paints. Latex paint is water-based, dries fast, and works well for most jobs. Oil-based paint gives a hard finish but takes longer to dry and has stronger smells.
Think about the surface, the finish you want, and your preference for drying time and clean-up.
Understanding Finish Levels
Paint finishes range from flat to high gloss. The finish you choose changes how the paint looks and lasts. Flat finishes hide imperfections well and are good for low-traffic areas. High gloss finishes are shiny and last longer.
- Flat (Matte) Finish: Ideal for low-traffic areas and ceilings.
- Egg Shell Finish: Offers a slight sheen, suitable for living areas.
- Satin Finish: Provides a soft glow, great for high-traffic areas like kitchens and bathrooms.
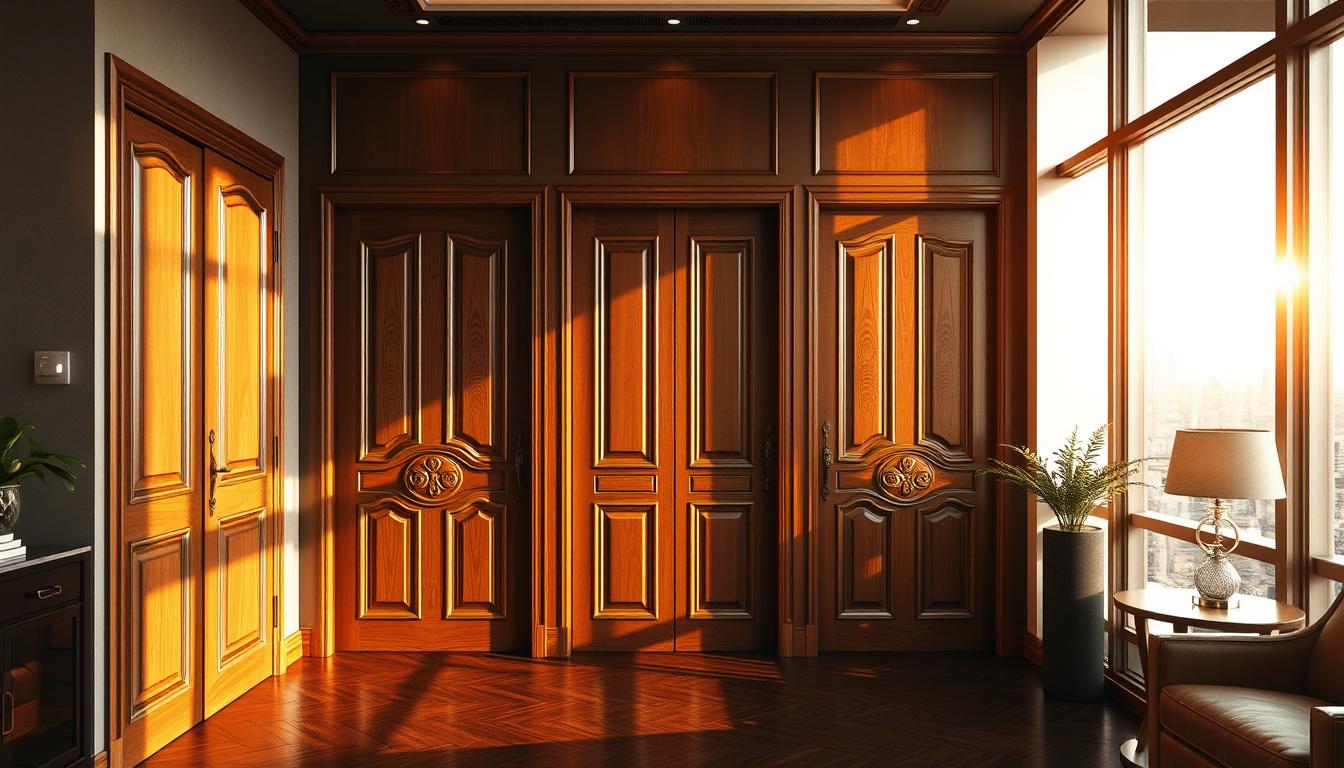
- Semi-Gloss Finish: Highly durable, often used on trim and doors.
- High Gloss Finish: Very reflective, used for a dramatic effect.
Determining Color Schemes
Choosing the best interior paint colors can be tough. Start by thinking about the mood you want. Cool colors like blues and greens are calming. Warm colors like reds and oranges are energizing.
Also, consider the room’s natural light and how the color will look at different times. It’s smart to test paint samples on the walls before deciding.
Planning Your Painting Project
Effective planning is key to a successful painting project. This applies whether you’re doing it yourself or hiring home painting services.
Several factors are important for a successful project. It’s not just about choosing the right color. You also need to plan a timeline, budget, and schedule the work.
Timeline for Completion
Creating a realistic timeline is essential. You need to consider the project’s size, the number of coats, and if you’ll work alone or with pros. For big projects or using home painting services, add extra time for prep and drying.
Budgeting for Materials and Labor
Budgeting is more than just paint costs. You must also think about brushes, rollers, tape, and other supplies. If hiring pros, labor costs are a big part. Look up and compare house painting cost estimates to stay on budget.
Creating a Painting Schedule
A painting schedule keeps you organized and on track. It should include prep time, painting days, and drying time. For home painting services, a clear schedule helps manage expectations.
By planning well, you can avoid common problems and have a smooth project. Whether DIY or hiring pros, a well-planned project meets your goals and stays within budget.
Preparing Your Space for Painting
To get a smooth painting job, preparation is essential. Good prep work improves the final look and makes the process less stressful. It also makes the experience more enjoyable.
Clearing and Protecting Furniture
Before painting starts, clear the rooms of furniture or cover it well with drop cloths. This keeps your stuff safe from paint spills. For residential painting services, pros use special gear to protect your home’s furniture.
Take out any furniture or valuable items from the room. Also, cover the floor with something to prevent damage. This step is key for a smooth painting process.
Repairing Walls and Ceilings
Check your walls and ceilings for any damage like holes or cracks. Fixing these is crucial for a smooth finish. For small repairs, use spackling compound to fill holes and sand it down. If you’re hiring an interior painting company, they’ll usually do these repairs for you.
For bigger damage, you might need a pro to fix it right. This is important for a perfect paint job.
Priming Surfaces
Priming is a key step that greatly affects your painting’s outcome. It creates a uniform base, helping paint stick well and cover evenly. For surfaces like bare wood or metal, priming is a must.
For more on painting costs, check our guide on estimating painting costs for your home. It offers great tips on budgeting for your project.
Selecting the Perfect Color Palette
Finding the right color palette can make your living space feel welcoming and unique. Choosing the best interior paint colors is key. You need to think about what will look good and work well in your home.
Using Color Theory
Color theory helps you pick the right colors. It shows how colors work together and what feelings they bring. Using color theory, you can make a color scheme that makes your home look great.
For example, complementary colors add contrast, while analogous colors create a calm look. When picking colors, remember the color wheel and how colors go together.
Testing Samples on Walls
After picking colors, test them on your walls. Paint swatches can look different on a small sample than on a big wall. The lighting in your room also changes how colors appear.
Painting a big section of the wall helps you see how the color will really look. It’s important to avoid mistakes and get the color you want. Also, check how the color looks at different times of day.
Considering Room Lighting
Lighting in your room affects how colors look. Natural light, artificial light, and the direction of your rooms change color appearances. A color might look great in bright light but not in dim light.
Knowing how lighting affects your colors is crucial. It helps you make choices that create the right mood in your home.
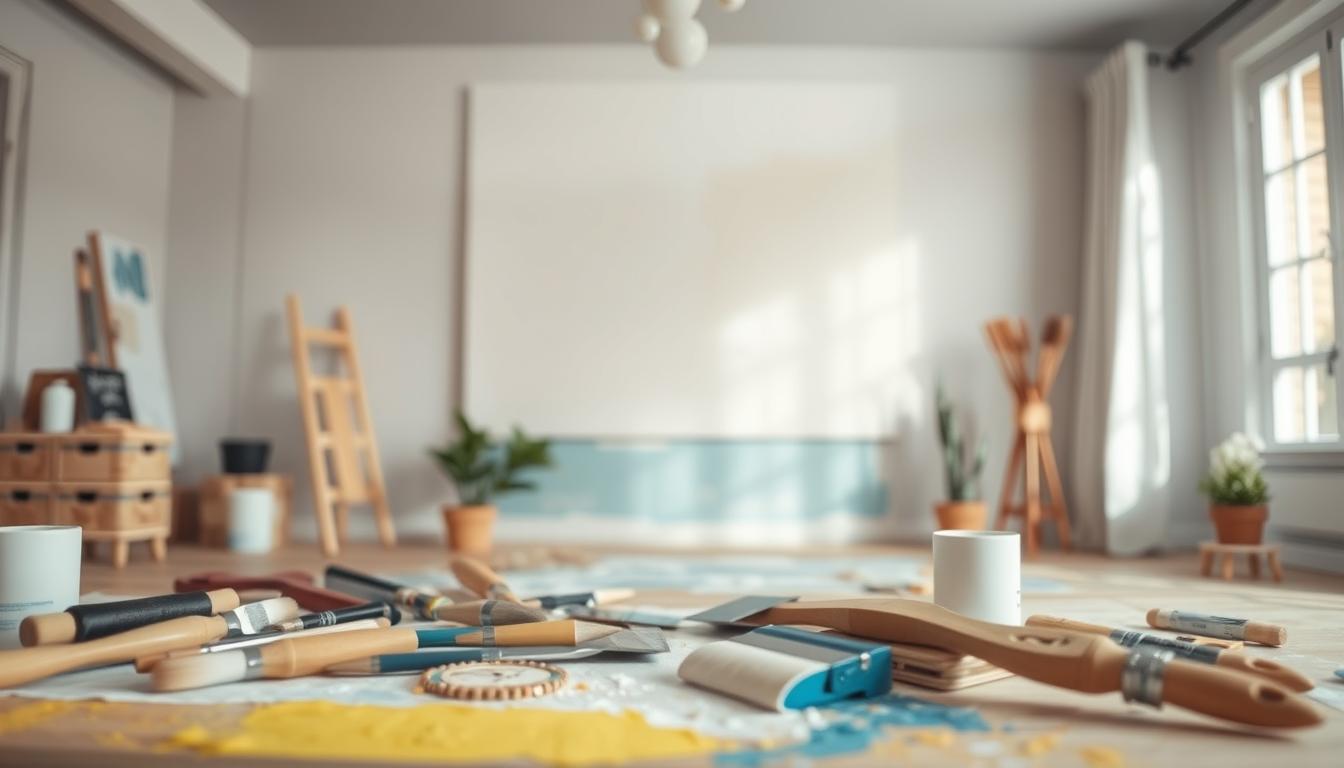
Tools and Supplies We Need
Painting your home’s interior needs the right tools and supplies for a pro look. As professional house painters, we know how important being ready is. Here, we’ll show you the key tools and supplies for a great painting job.
Essential Painting Tools
First, you’ll need some basic tools for a smooth paint job. These include:
- A paint tray with a grid to hold your roller
- A paint can opener to easily open paint cans
- Drop cloths or tarps to protect your floors
- A ladder or step stool to reach high areas
- Rags for cleaning spills and wiping tools
Having these essential painting tools ready will make painting easier and help you get a pro finish.
Choosing the Right Brushes and Rollers
Picking the right brushes and rollers is key for the finish you want. The right tool depends on the surface and paint type.
| Surface | Recommended Brush/Roller |
|---|---|
| Smooth surfaces | High-density foam roller or synthetic brush |
| Textured surfaces | Nap roller (various nap lengths available) |
For interior painting tips, use high-quality brushes and rollers made for your paint type, latex or oil-based.
All About Painter’s Tape
Painter’s tape helps get clean lines around trim and baseboards. Look for:
- Tape made for painting
- A tape with a gentle adhesive to avoid surface damage
- A tape that’s easy to remove without residue
Using the right painter’s tape and applying it right will give you pro-looking results that make your project pop.
Painting Techniques to Master
Whether you’re doing it yourself or getting home painting services, knowing how to paint is crucial. A good paint job can make your home look new and welcoming.

Cutting In vs. Rolling
“Cutting in” and “rolling” are two main painting techniques. Cutting in means painting edges and corners with a brush. It needs patience and precision for a clean look. Rolling uses a roller for big areas. It’s important to keep the paint wet to avoid streaks.
Using a Paint Sprayer
A paint sprayer is great for big, smooth surfaces. It covers fast and looks even. But, it takes practice and you must protect your space from overspray. Always follow the sprayer’s guide and wear safety gear.
Achieving Clean Edges
Getting clean edges is tough. Use good painter’s tape and apply it smoothly. Press it hard to stop paint from getting under. Paint the edges with a brush, then take off the tape before it dries for a sharp line.
Learning these techniques will help you get a pro finish when painting your home’s interior. Whether it’s one room or your whole house, these skills will make your paint job last and look great.
Understanding Paint Coverage and Quantity
Knowing how paint coverage works is crucial for a successful painting job. It helps you plan your budget and avoid running out of paint. Calculating the paint needed is key to saving money and ensuring a smooth project.
Calculating Square Footage
To figure out paint needs, start by calculating wall square footage. Measure each wall’s length and height in feet. Then, multiply these numbers to find the square footage of each wall. Add up the square footage of all walls in a room.
For example, a room with four walls, each 10 feet by 8 feet, has a total of 320 square feet.
How Much Paint to Buy
After finding the total square footage, you can figure out paint needs. Most paint cans show coverage in square feet. A gallon usually covers 350-400 square feet, but this can change based on the surface.
To find out how many gallons you need, divide the total square footage by the paint’s coverage rate. For instance, if you have 320 square feet and the paint covers 350 square feet per gallon, you’ll need about 0.9 gallons. Always round up to the next gallon to be safe.
| Surface Type | Coverage Rate Adjustment | Additional Paint Needed |
|---|---|---|
| Smooth Surface | 100% | 0% |
| Textured Surface | 80% | 20% |
| Porous Surface | 60% | 40% |
Dealing with Touch-ups
Save some paint for future touch-ups. The amount needed depends on the project size and wear and tear. Usually, a quart is enough for most interior projects.
For bigger projects or high-traffic areas, save a half-gallon or more. Label the paint cans with the room name, color, and finish. This makes it easy to find the right paint later.
Common Mistakes to Avoid When Painting
A successful painting project needs more than good intentions. It requires careful planning and execution. Knowing common mistakes can save time, money, and frustration when painting your home.
We’ll look at important mistakes to avoid. This is true whether you hire residential painting services or do it yourself.
Skipping Surface Preparation
Preparing the surface is a key step in painting. Skipping it can cause uneven finishes, peeling, or poor adhesion. Clean walls, fix holes, and sand surfaces to get a smooth base for painting.
Choosing the Wrong Paint
There are many paints to choose from, making it hard to pick the right one. The wrong paint can lead to a finish that’s not what you expected or doesn’t last long. Think about the room’s use, lighting, and surface type when picking paint.
Rushing the Job
Painting takes time. Rushing can cause uneven coverage, drips, and missed spots. Take your time to apply each coat evenly and let it dry as instructed.
To show why avoiding these mistakes is important, let’s compare:
| Common Mistake | Consequence | Prevention Tip |
|---|---|---|
| Skipping Surface Preparation | Poor paint adhesion, uneven finish | Clean and sand surfaces before painting |
| Choosing the Wrong Paint | Unsatisfactory finish, reduced durability | Consider the room’s purpose and surface type |
| Rushing the Job | Uneven coverage, drips, missed spots | Apply paint in thin coats, allow proper drying time |
By avoiding these mistakes, you can get a professional-looking finish. This will make your home look better and increase its value. For more interior painting tips, talk to professionals or do more research.
Safety Considerations While Painting
When we start painting, safety is key for us and those around us. This is true whether we hire pros or do it ourselves. Always put safety first.
Ensuring Proper Ventilation
Good air flow is vital to avoid breathing in paint and solvent fumes. Make sure the area is well-ventilated. Open windows and use fans to move air around.
Tips for Ensuring Proper Ventilation:
- Open windows and doors to let fresh air in.
- Use fans to circulate air and direct fumes away from the work area.
- Consider using a ventilation system if painting in a confined space.
Using Personal Protective Equipment
Wearing the right gear is crucial to protect us from paint, dust, and chemicals. This includes gloves, safety glasses, and masks.
| PPE | Purpose |
|---|---|
| Gloves | Protect hands from paint and solvents |
| Safety Glasses | Protect eyes from splatters and debris |
| Masks | Prevent inhalation of fumes and dust |
Handling Paint and Solvents Safely
Dealing with paint and solvents needs caution to avoid accidents and chemical exposure. Always read labels, follow safety rules, and dispose of leftovers correctly.
Safe Handling Practices:
- Read and follow the instructions on the label.
- Use in well-ventilated areas and avoid skin contact.
- Dispose of rags and leftover paint according to local regulations.

Cleaning Up After Painting
Now that your painting is done, let’s focus on the cleanup process. Whether you’ve hired an interior painting company or done it yourself, proper cleanup is essential for a successful project.
Properly Disposing of Paint Waste
Proper disposal of paint waste is crucial for environmental safety. Check with your local waste management agency for guidelines on disposing of paint cans and leftover paint. Some communities have special collection days for hazardous waste, including paint.
“Reducing, Reusing, Recycling is more than a slogan. It is a way of life that makes good sense for our environment,” as emphasized by environmental advocates. This principle applies to disposing of paint waste, where responsible disposal methods can significantly impact our ecosystem.
Cleaning Tools for Future Use
To extend the life of your painting tools, clean them thoroughly after use. For oil-based paints, use mineral spirits or turpentine. For latex paints, soap and water are sufficient. Ensure that all tools are dry before storing them to prevent damage.
- Clean brushes with appropriate solvents.
- Rinse rollers thoroughly.
- Dispose of roller covers if they are not reusable.
Restoring Your Space
After painting, remove any painter’s tape, drop cloths, and protective coverings. Inspect the room for any spots that may have been missed during the painting process. If necessary, touch up these areas. Then, put back any furniture and decor you removed, and enjoy your newly painted space with your chosen best interior paint colors.
By following these steps, you ensure that your painting project ends on a high note, leaving your space looking fresh and newly painted.
Maintaining Your Newly Painted Space
A newly painted home is a big investment. Taking care of it ensures it stays bright for years. To keep your interior looking great, regular maintenance is key. This includes a few simple steps to make your paint last longer.
Touch-Up Techniques Over Time
Walls can get small scuffs and marks over time. Fixing these spots quickly can stop the need for a full repaint. It’s smart to save some leftover paint for touch-ups. Use a small brush to match the original paint color and finish.
- Clean the area around the mark before applying touch-up paint.
- Use a gentle scrubbing motion to blend the new paint with the existing coat.
- Allow the touch-up paint to dry completely before assessing if additional coats are needed.
Cleaning Painted Surfaces
Regular cleaning keeps your painted walls looking good. Gentle cleaning methods are best to avoid damage. Use a soft cloth or sponge with mild soap and water. Stay away from harsh chemicals or abrasive cleaners that can harm the paint.
- Dampen a soft cloth with warm water and add a small amount of mild soap.
- Gently wipe down the painted surfaces, working from top to bottom.
- Rinse the cloth frequently to prevent dirt from being redeposited onto the walls.
When to Repaint
Deciding when to repaint depends on your walls’ condition. If you see fading, chipping, or the paint looks old, it’s time to repaint. Regular checks help you keep up with maintenance and plan for future painting.
Consider these factors when deciding to repaint:
- The age of the current paint job.
- Changes in your home’s decor or color scheme.
- Damage to the walls that cannot be repaired with touch-ups.
By following these maintenance tips, you can enjoy your newly painted space for longer. Remember, the secret to a lasting paint job is regular care and timely touch-ups. Whether you want to refresh a room or your whole home, knowing how to maintain paint is essential for homeowners.
Conclusion: Enjoying Our Freshly Painted Home
As we finish painting our home’s interior, we see a big change. We might have done it ourselves or hired pros. Either way, our home now feels fresh and welcoming.
Appreciating the Results
Looking back, we see how our color choices and finishes have improved our home’s feel. The hard work in preparing and painting has given us a stunning, lasting finish.
Planning for the Future
Now that our home is painted, we can think about more projects or upkeep. We can plan to keep our home looking great for years.
By following this guide, we’ve painted our home beautifully. It’s now a cozy space we can enjoy for years, whether we painted it ourselves or hired pros.