A fresh coat can make a room look new and welcoming. With DIY home painting, you can get pro results without spending a lot.
We’ll show you how to paint like a pro. We’ll share interior painting tips to help you avoid mistakes and get a perfect finish.
By following our guide, you can transform your space. It will look better and be more valuable.
Key Takeaways
- Learn the basics of preparing your walls for painting
- Discover the best techniques for applying a smooth finish
- Understand the importance of choosing the right paint for your project
- Get tips on how to avoid common painting mistakes
- Find out how to add a professional touch to your DIY project
Understanding the Basics of Interior Painting
To do a great job with interior painting, you need to know about paint types and gloss levels. It’s important to learn about the different paints and what they do.
Choosing the Right Paint Type
Choosing the best paint for interior walls depends on a few things. These include the room’s use, moisture levels, and the finish you want. For example, kitchens and bathrooms need paint that can handle moisture. That’s why latex-based paints are a top pick because they’re water-resistant and easy to clean.
If you’re worried about durability, think about using acrylic paint. It has a hard finish. For a fancy look, oil-based paints are good. They have a smooth finish but dry slowly and have strong fumes.
| Paint Type | Characteristics | Best Use |
|---|---|---|
| Latex-based | Water-resistant, easy cleanup | Kitchens, bathrooms |
| Acrylic | Durable, hard finish | High-traffic areas |
| Oil-based | Smooth finish, strong fumes | Luxurious trim work, furniture |
Gloss Levels and Their Uses
The gloss level of your paint affects how it looks and lasts. Gloss levels go from flat (matte) to high gloss. Flat paints are great for ceilings and places with little foot traffic because they hide flaws well but aren’t as tough.
Eggshell and satin finishes are good for places like living rooms and bedrooms. They look nice and are pretty durable. High gloss paints are the most durable and easy to clean. They’re often used for trim and doors.
When picking painting tools and equipment, think about the paint and surface you’re working with. Rollers are best for big, smooth areas. Brushes are better for trim and corners.
Knowing these basics will help you make smart choices. This way, your interior painting project will turn out well and last a long time.
Essential Tools for Interior Painting
To paint your home’s interior like a pro, you need the right tools. Interior painting is more than just paint. It requires reliable tools for a smooth finish.
Must-Have Tools for Beginners
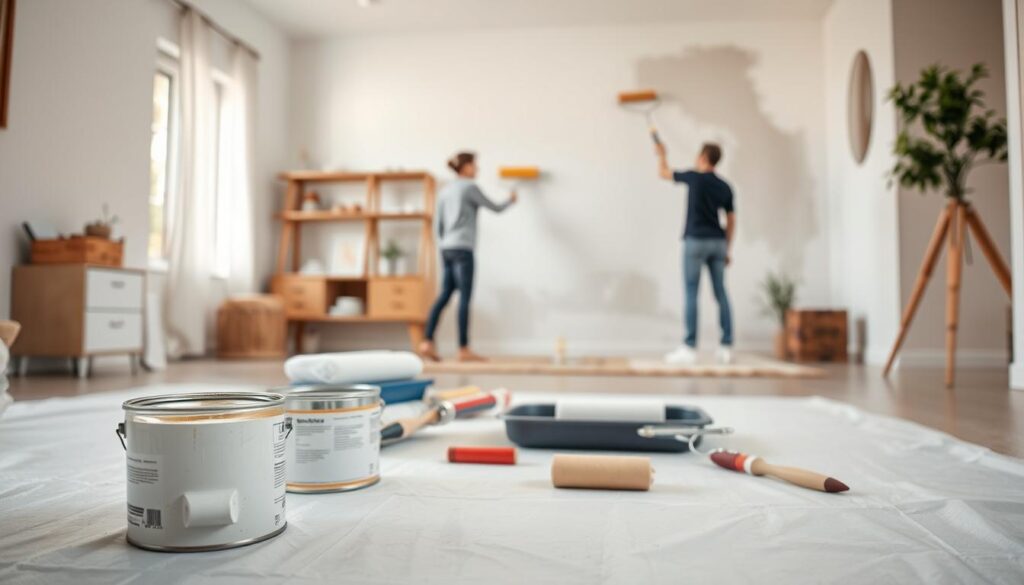
For DIY home painting beginners, start with the basics. High-quality brushes and rollers are key. Brushes come in different sizes and shapes for various areas and effects. Rollers are great for covering big surfaces fast.
- Paintbrushes (various sizes)
- Roller extension poles
- Paint trays
- Drop cloths
A seasoned painter says, “The right tool makes a huge difference in painting. Invest in quality equipment from the start.”
“The right tool can make all the difference in the world when it comes to painting. It’s worth investing in good quality equipment from the start.”
Upgrading Your Painting Gear
As you get better at DIY home painting, you might need better tools for harder projects. You might want specialty brushes for detailed work or HVLP sprayers for smooth finishes on big areas.
| Tool | Use | Benefit |
|---|---|---|
| HVLP Sprayers | Large, smooth surfaces | Professional finish, efficient |
| Specialty Brushes | Detailed work, trim | Precision, versatility |
| Paint Edgers | Cutting in around edges | Clean lines, saves time |
Upgrading your painting tools and equipment improves your work quality. It also makes painting more fun and less hard work.
Preparing Your Space for Painting
Getting your space ready for painting is key to a smooth experience. Preparation is crucial for a successful painting job.
Clearing the Room Efficiently
First, clear the room of furniture and items. If you can’t move things, cover them with drop cloths or plastic sheets. Remove outlet covers and switch plates for a complete paint job.
- Take down curtains, blinds, and any wall decorations.
- Cover the floor with a protective layer, such as a drop cloth.
- Remove furniture or push it to the center of the room and cover it.
Protecting Furniture and Floors
It’s important to protect your furniture and floors from paint spills. Use drop cloths or plastic sheets for big areas. Apply painter’s tape to seal edges and corners.
“A well-prepared space is half the battle won when it comes to painting.”
Don’t rush this step. Proper preparation makes painting easier and ensures a professional finish.
Follow these interior painting tips for a successful project. The effort you put into preparation will show in the final result.
Selecting the Perfect Color Palette
Finding the right color palette is crucial for a harmonious home. The colors you pick can greatly affect your home’s feel and mood.
Understanding Color Psychology
Colors can make us feel certain ways and change our mood. For example, blue brings calmness, perfect for bedrooms. Red boosts energy, great for dining areas to spark conversations.
Think about the room’s purpose and the mood you want to create when picking colors. It’s all about the emotions you aim to evoke.
Choosing Complementary Colors
Complementary colors are pairs that are opposite each other on the color wheel. They create a striking contrast in your home. For instance, blue and orange together add a lively touch.
For a balanced look, use the 60-30-10 rule. This means 60% of the room is a main color, 30% a secondary, and 10% an accent. This balance makes your space look good and feel right.
| Color | Psychological Effect | Best Used In |
|---|---|---|
| Blue | Calmness, Serenity | Bedrooms, Bathrooms |
| Red | Energy, Stimulation | Dining Areas, Living Rooms |
| Green | Balance, Harmony | Living Rooms, Offices |
Techniques for Successful Wall Preparation
Before you start painting, make sure your walls are ready. This means following a few important steps. It’s all about getting your walls in top shape for painting.
Cleaning and Repairing Walls
Cleaning your walls is the first thing to do. Dirt, grime, and grease can ruin your paint job. Use a mild detergent and water to clean them well.
For tough stains, try a trisodium phosphate (TSP) solution. But always follow safety rules when using it.
After cleaning, check your walls for damage. Fill holes and cracks with the right filler and sand them smooth. This makes your walls look better and helps paint go on evenly.
Priming: Is It Necessary?
Priming is a big debate. But it’s really important for a great paint job. It makes a uniform base, covers stains, and helps paint stick better.
For example, if you’re painting over a dark color or stains, prime first. Also, prime if the wall is porous or has been fixed with filler. This ensures a smooth finish.
| Surface Condition | Priming Recommendation | Benefits |
|---|---|---|
| Dark or stained surface | Highly recommended | Covers stains, uniform color |
| Glossy or uneven surface | Recommended | Improves paint adhesion |
| New drywall or plaster | Recommended | Seals surface, ensures uniform finish |
For more on painting costs, including prep, check our guide.
Mastering the Application Process
The secret to a professional paint job is in the application technique. When painting your home yourself, knowing how to apply paint is key. This ensures a flawless finish.
First, let’s talk about the tools you’ll need. Whether to use brushes or rollers depends on the surface and the finish you want.
Using Brushes vs. Rollers
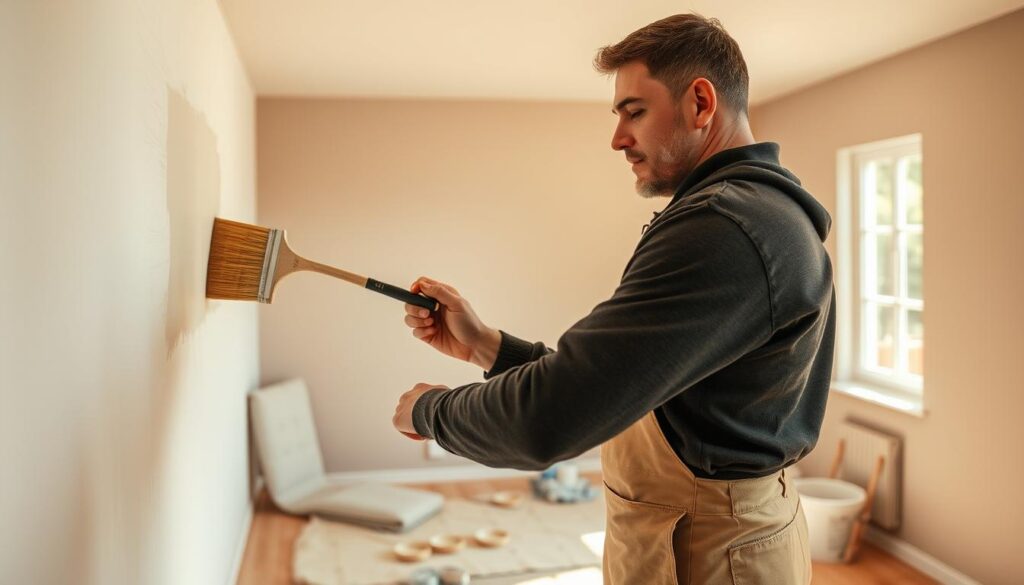
Brushes are great for detailed work like edges, corners, and trim. They give you precision and control for a clean line. Rollers, on the other hand, are perfect for big, flat areas. They help achieve a smooth finish if used right.
When to use brushes: Brushes are best for detailed work, like painting around windows and doors. They’re also good for small areas or touch-ups.
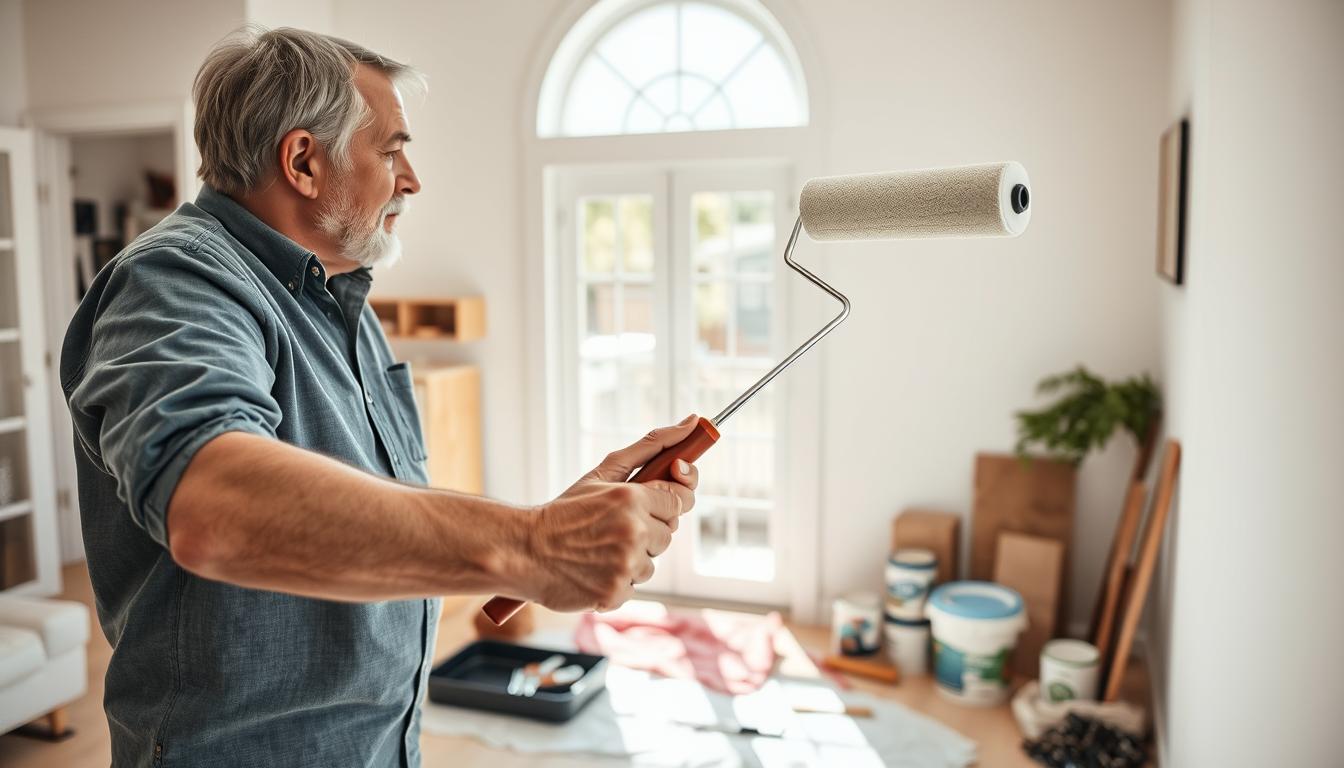
When to use rollers: Rollers are ideal for large walls and ceilings. Use a high-quality roller cover with the right nap length for your paint.

The Importance of Technique
Technique is crucial, whether you’re using a brush or a roller. For brushes, use smooth strokes in sections to keep a wet edge. This prevents brush marks and ensures a uniform finish.
For rollers, paint in a “W” or “M” pattern to spread the paint evenly. Then, fill in the gaps without lifting the roller. This avoids roller marks and gives a professional look.
Practice makes perfect: Your first painting attempts might not be perfect. But with practice, you’ll improve. Your DIY home painting project will look amazing.
Painting Specific Areas with Precision
Interior painting needs precision, mainly for corners, trim, ceilings, and doors. Getting a professional look requires knowing how to paint these areas well.
Cutting in Around Corners and Trim
Cutting in is a key skill for painting. It means painting edges, corners, and trim without tape. Use a high-quality angled brush for precise strokes.
Tips for Cutting In:
- Work in small sections to maintain control.
- Use a brush with synthetic bristles for better paint flow.
- Keep your brush strokes smooth and steady.
Techniques for Ceilings and Doors
Ceilings and doors are tricky to paint because of their size and position. For ceilings, use a roller with an extension pole for big areas. For doors, remove hardware and use a brush or small roller for the best look.
| Area | Technique | Cost Saving |
|---|---|---|
| Ceilings | Use a roller with an extension pole | Reduces ladder use, saving on equipment rental |
| Doors | Remove hardware before painting | Avoids costly touch-ups on hardware |
| Corners and Trim | Use an angled brush for cutting in | Minimizes the need for painter’s tape |
Mastering these techniques and tips helps you get a professional finish while saving money. Whether painting your home or just a few areas, precision and the right methods are key.
Troubleshooting Common Painting Issues
Painting problems can be a real headache. But, knowing how to fix them can save you a lot of time and effort. Even with a step-by-step painting guide, issues like drips, overlaps, and uneven coverage can still happen.
Understanding the causes and solutions for these problems is crucial. Let’s look at some common painting issues and how to solve them.
Handling Drips and Overlaps
Drips and overlaps are common when DIY home painting. A drip happens when too much paint is on the roller or brush, causing it to run. An overlap occurs when new paint meets old, leaving a visible line.
- To prevent drips, use the right amount of paint on the roller or brush.
- If a drip happens, let it dry and then sand it down for a smooth finish.
- For overlaps, blend the new paint into the old to avoid visible lines.

Fixing Uneven Paint Coverage
Uneven paint coverage can stem from poor surface prep or the wrong paint. To fix it, first figure out the cause.
If the surface is rough, sand it before painting for a smoother finish. If the paint is the issue, try a different type that’s better for your surface.
By using these tips, you can get a professional finish even with painting problems. Remember, patience and the right techniques are essential for successful DIY home painting.
Final Touches After Painting
Once you’ve painted your home, the next steps are key to a professional finish. These final tasks ensure your paint lasts long and looks great.
Cleaning Up and Disposing of Materials
First, clean your painting tools and get rid of leftover paint and materials. Use soap and water for latex paint and mineral spirits for oil-based paints. This keeps your tools ready for next time.
Check local rules for disposing of paint and materials. Many places have special rules for paint waste. Proper disposal helps the planet and keeps your area clean.
When to Apply a Second Coat
Deciding on a second coat depends on the paint and surface. If the first coat doesn’t cover well or the color isn’t bright enough, you might need more.
Make sure the first coat is dry before adding a second. The drying time varies with the best paint for interior walls and the environment. Check the surface for any mistakes or paint on places it shouldn’t be.
Adding a second coat can make your paint job last longer and look better. But, don’t overdo it. Too many coats can cause the paint to crack.
Maintaining Your Newly Painted Interior
After investing in cost-effective interior painting ideas, it’s key to keep your home looking great. Proper care will make your paint last longer and keep your interior looking fresh.
Long-Lasting Results
To get long-lasting results, follow some interior painting tips. Avoid harsh cleaning products and use gentle methods. Regular dusting and cleaning prevent dirt buildup and keep the paint looking good.
Caring for Painted Surfaces
For painted surfaces, clean with a soft cloth and mild soap. Don’t use abrasive materials or strong chemicals, as they can harm the paint. By following these tips, your newly painted interior will last for years.


